How to Get Wicked Implement: Deep Dive Hidden Quest Guide
Unlock Wicked Implement exotic scout rifle in Destiny 2's secret quest: catch Aeonian Alpha-Betta, collect Broken Blades, activate Deep Dive statues.
It has been a wild ride across the depths of Titan’s methane ocean this season, and Bungie has once again buried a secret exotic quest within the weekly Deep Dive activities. After a few weeks of quietly accumulating Broken Blades from strange Exotic fish, I finally stood in front of the final statue, heart pounding, ready to claim the Wicked Implement scout rifle. This quest doesn’t have an official name on the director, but the community has pieced together the steps with admirable speed. Today, I want to share my own journey through this hidden path, so you can replicate the steps and add this Stasis precision weapon to your arsenal.
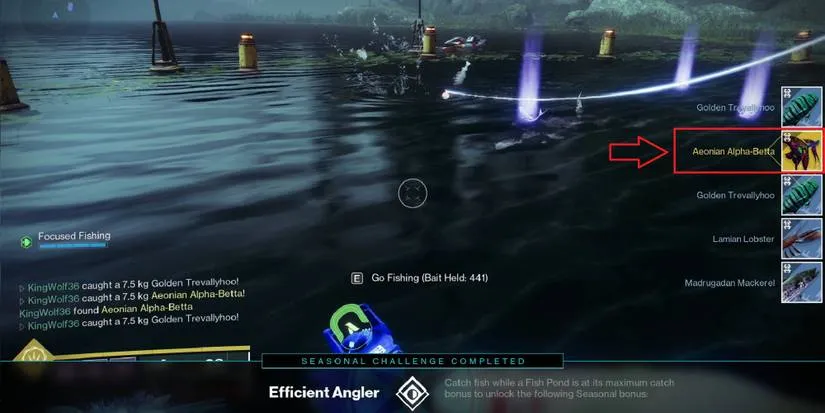
The whole sequence kicked off with a simple notification from Hawthorne. Every week she directs guardians toward a new Fishing Rally location, and during this particular week, the EDZ pond became the hot spot. I grabbed the quest from her in the Tower, then headed straight to the Outskirts. The pond was teeming with fellow anglers, all of us casting lines with the same goal: to catch the Aeonian Alpha-Betta. This legendary fish looks like a shimmering, aggressive predator, and it only appears when the Focused Fishing meter is completely filled. I spent a solid ten minutes with a full bar before the sleek creature finally graced my line. The key here is patience and persistence. Joining an instance with multiple players dramatically speeds up the meter, so don’t fish alone if you can avoid it.
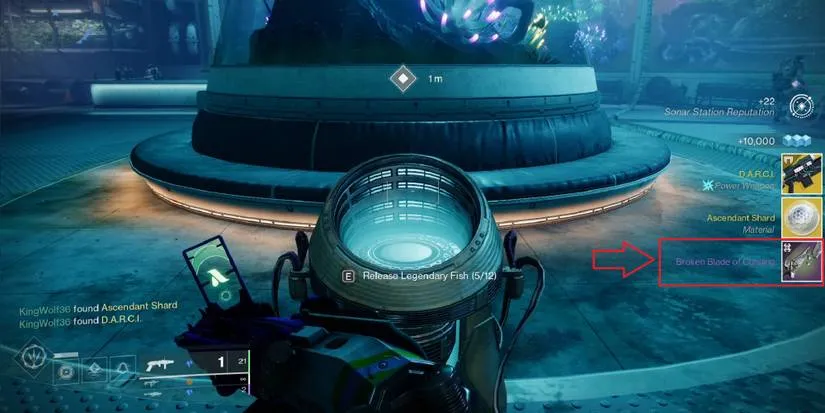
Once the Alpha-Betta was in my inventory, I immediately flew to the H.E.L.M. and entered the Sonar Station. Releasing the fish into the aquarium tank rewarded me with not only a piece of exotic armor but also the item I truly wanted: the Broken Blade of Cunning. This was the third and final blade I needed to complete the set, after having gathered the Blades of Strife and Ambition in previous weeks. The blade’s description hinted at the statue inside the Deep Dive, so I queued up the activity with my fireteam.
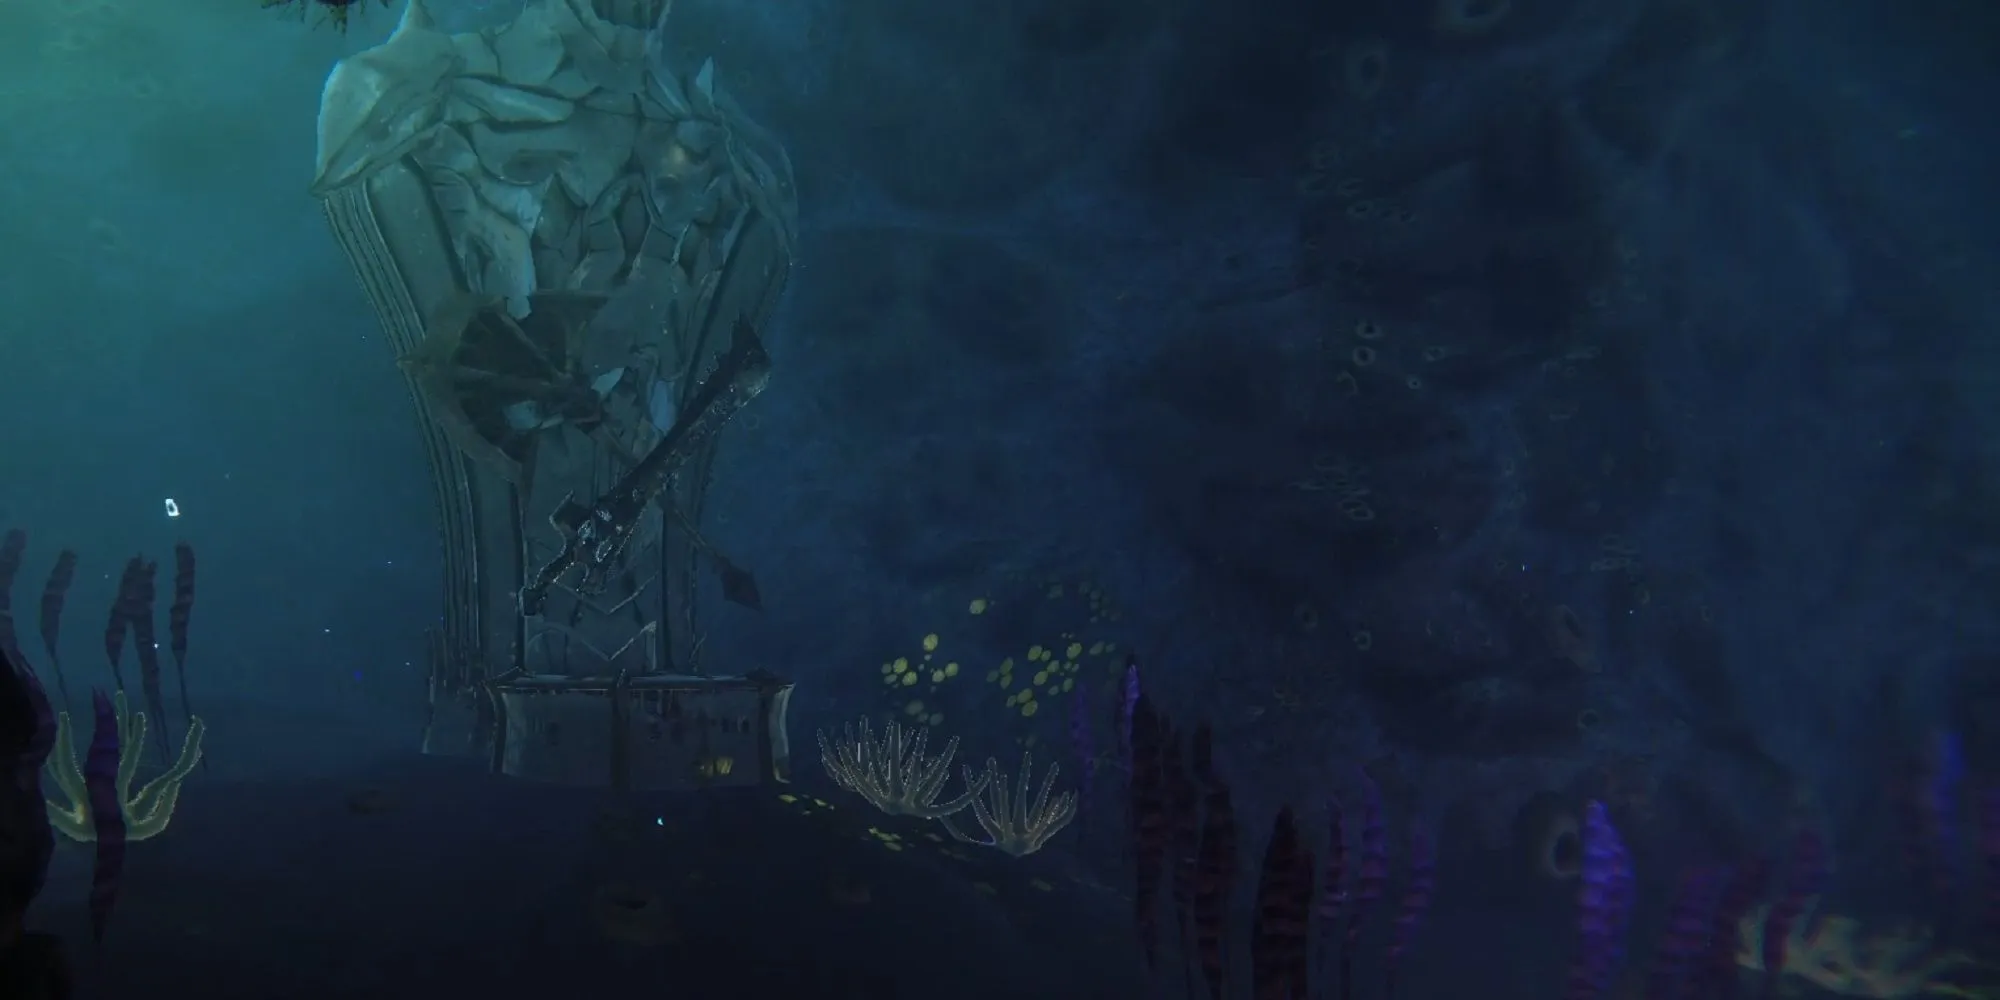
We loaded into the depths and cleared the first encounter efficiently. Right before diving down to the next section, I remembered the exact location of the third statue from earlier explorations. After claiming Ahsa’s gift and dropping into the water, we passed through the half-open door, then plunged straight down through the giant hole, careful to avoid the spinning fan blades. From there, we followed the only forward path until we reached a cliff edge. Peering to the right, I spotted a cluster of vibrant green plants. I leaped to the closest one, then immediately looked left. A bubble floated nearby. Eating the bubble propelled me forward, and right after passing a tall plant, I hooked left into a small alcove on the ledge. There it was—the final statue, patiently waiting.
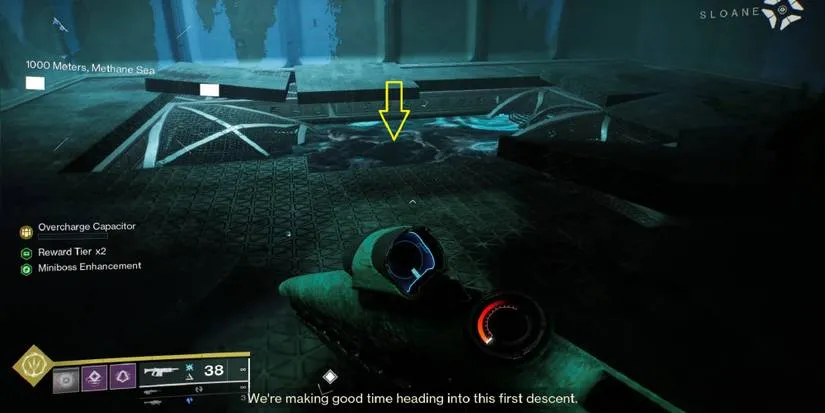
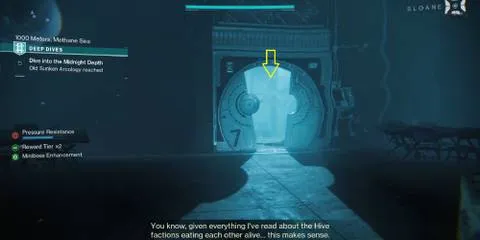
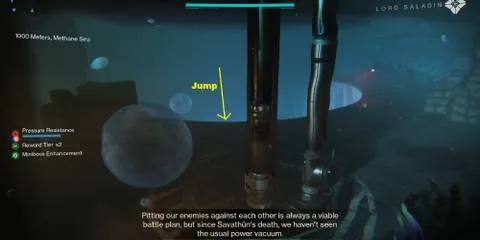
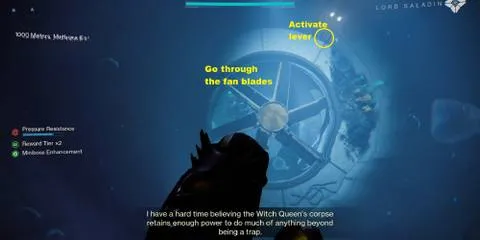
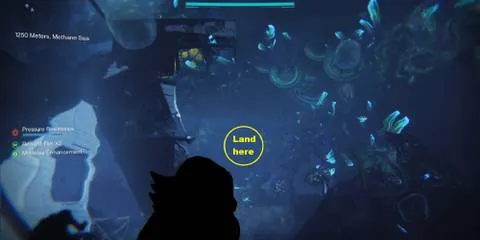
Offering the Broken Blade of Cunning to this statue was a moment of quiet satisfaction. But the real challenge lay ahead. We had to complete the second encounter and then deliberately ignore the normal exit. Instead, we turned to the massive door on the right side of the arena. A shimmering watery gate stood there, flanked by three statues. Each of my fireteam members had already delivered their respective blades in previous weeks, so we were ready. One by one we activated a statue—each guardian can only interact with one—and the gate dissolved, allowing us to dive into a new passage.
This hidden area started with a wave of Taken enemies, straightforward to dispatch. Soon we encountered the first boss, a knight named Khull. His health bar was stubborn; our weapons barely scratched him. Around the room, three yellow-bar Servile knights patrolled. Killing one grants the buff Deathly Sharp. Stack that buff three times, and a timer appears. During that precious window, Khull becomes vulnerable to full damage. My team coordinated, focusing down the Serviles and then unleashing everything on the boss before the timer expired. After a few cycles, Khull crumbled, and a staircase opened.
We ascended, cleared more ads, and found ourselves at a blocked gate with an orange spell sealing it. A black floating object hovered in the center of the room. One teammate shot it, while the other two spread out beneath the staircase on either side to find a key. Once the spell lifted, the path continued. All the while, a ten-minute timer ticked relentlessly. If it hit zero, the mission would fail, flinging us to orbit. The tension was palpable.
The final room presented two more orange spells and the chaotic maze where the Tormentor Omen awaited. Again, direct damage was useless until we hunted down special enemies—this time called Honed. These yellow-bar fighters were marked in the dark, but the limited visibility made the hunt frantic. I needed to kill three Honed personally to stack Deathly Sharp x3 and become able to hurt Omen. The buff has a short duration, and dying or letting it lapse forces the enemies to respawn. We weaved through the labyrinth, calling out marks, and finally brought the Tormentor down. One last statue stood in the triumph room. Interacting with it materialized the reward: the Wicked Implement exotic scout rifle.
Wicked Implement is a Stasis 180 RPM scout that slows and freezes targets with precision hits, then generates Stasis shards on shattering. It fits perfectly into any crowd-control setup and shines in high-level content. The journey to obtain it was demanding but utterly memorable. A summary of the critical steps for anyone attempting this quest:
| Step | Key Action |
|---|---|
| 1 | Join the Fishing Rally at the EDZ pond and catch Aeonian Alpha-Betta |
| 2 | Release fish at Sonar Station in H.E.L.M. to get Broken Blade of Cunning |
| 3 | In Deep Dive, after first encounter, find the hidden statue in the underwater alcove and offer the blade |
| 4 | Complete second encounter, then activate three statues at the right-side gate with your fireteam |
| 5 | In secret path, kill Serviles to stack Deathly Sharp x3 and damage Khull |
| 6 | Solve the gate puzzle (shoot the black object, find keys) while managing the 10-minute wipe timer |
| 7 | Defeat Omen by killing Honed enemies to recharge Deathly Sharp, then interact with final statue |
Even now, Deep Dive remains one of Destiny 2’s most immersive seasonal activities, and this hidden quest stands as a testament to Bungie’s love for secrets. My advice: bring a coordinated fireteam, keep your comms clear, and never underestimate the power of a well-timed bubble. The depths are unforgiving, but the reward is absolutely worth the dive.