Excavation Site XII Master Lost Sector Guide: Tactics and Loadouts for 2026
Master Destiny 2's Excavation Site XII Master Lost Sector: navigate a 7-Champion gauntlet with expert loadout and Champion control tactics.
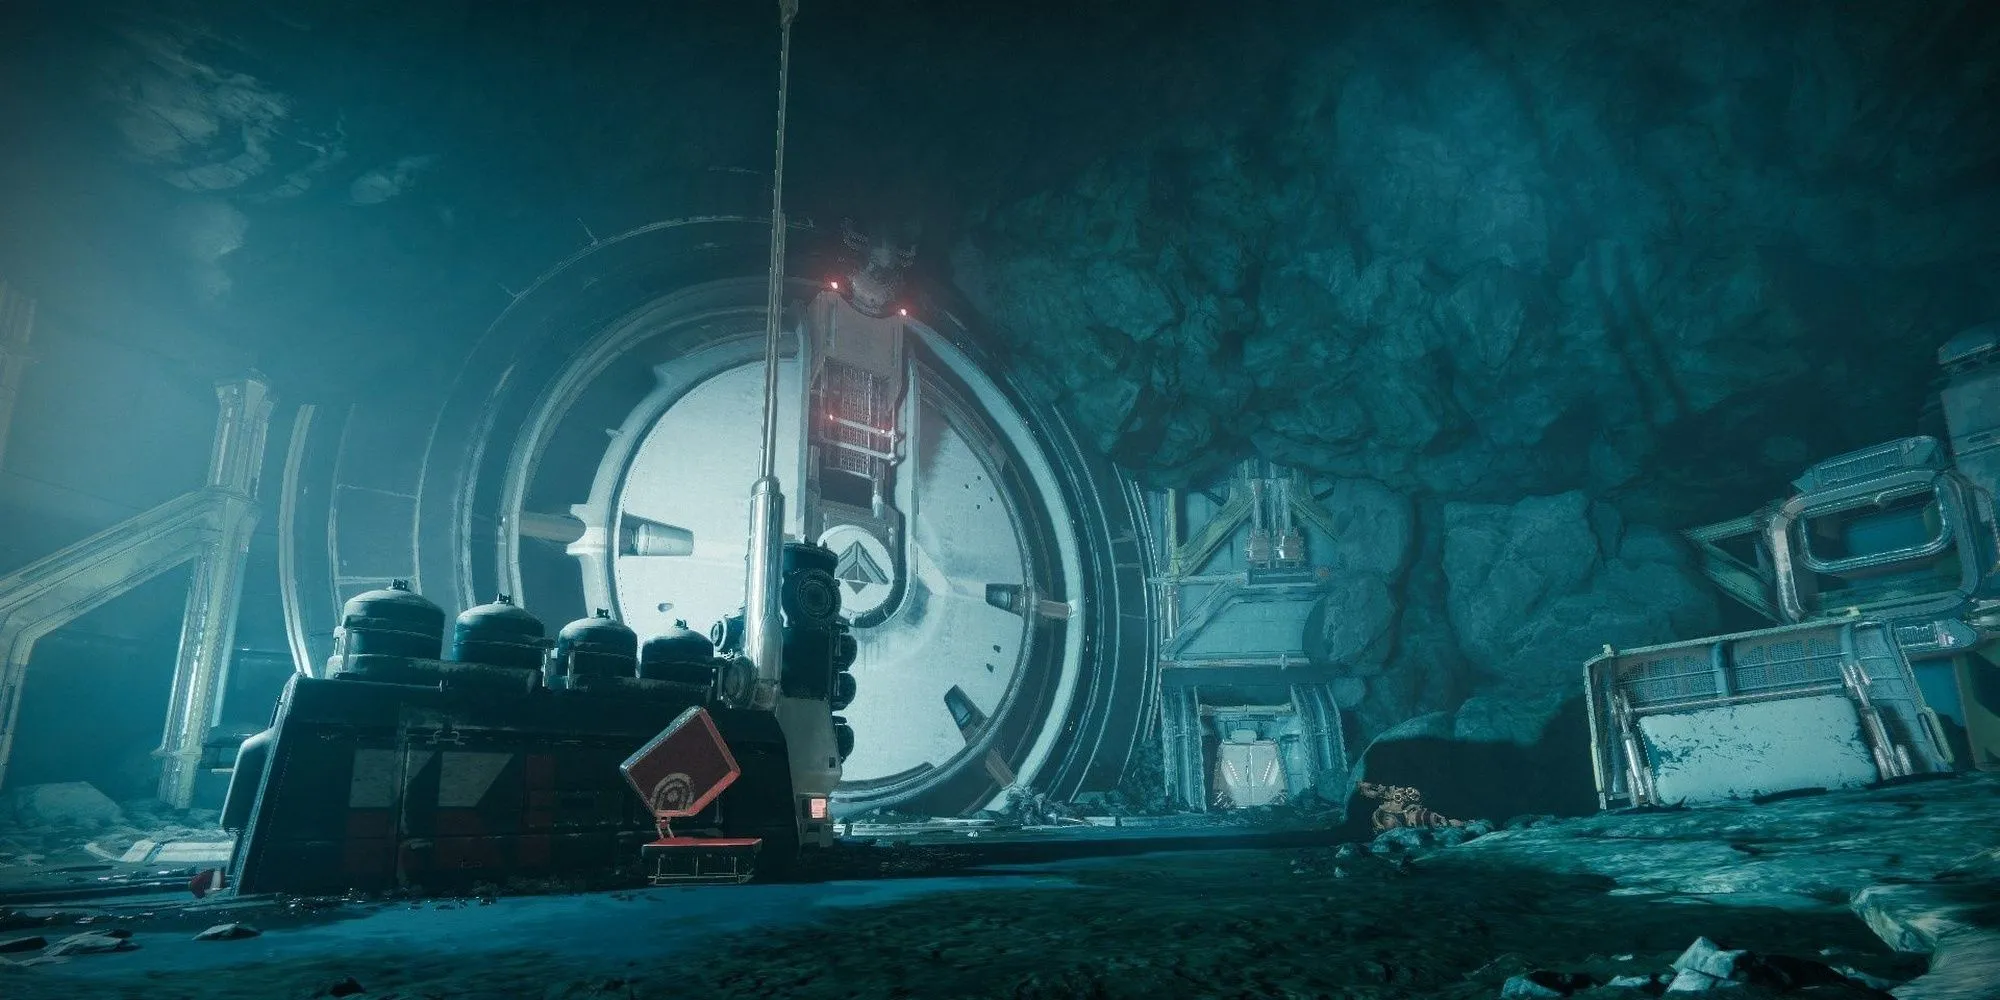
Excavation Site XII remains one of the most compact yet unforgiving Master Lost Sectors in Destiny 2. Tucked into the European Dead Zone, this Cabal excavation is deceptively short — a brisk few minutes for the right fireteam — but inside it hides a gauntlet of seven Champions. Six of them can be triggered to fight simultaneously if the uninitiated Guardian slaughters too many rank-and-file Cabal, turning a routine clear into a chaotic firefight that feels like opening Pandora’s box. Mastering this arena demands patience, pinpoint Champion control, and a loadout that blends burst damage with layered survivability.
Modifiers and Recommended Loadout
Every Master Lost Sector comes with rotating modifiers, and as of the current 2026 sandbox, Excavation Site XII typically layers on threats that punish reckless aggression. Common afflictions include Match Game, Attrition, Togetherness, or Famine, each reshaping how Guardians approach combat. The fixed threats, however, are the Champions themselves: two Barrier Colossi, four Unstoppable Incendiors, and a boss Colossus that can shred a stationary player faster than a meteor shower.
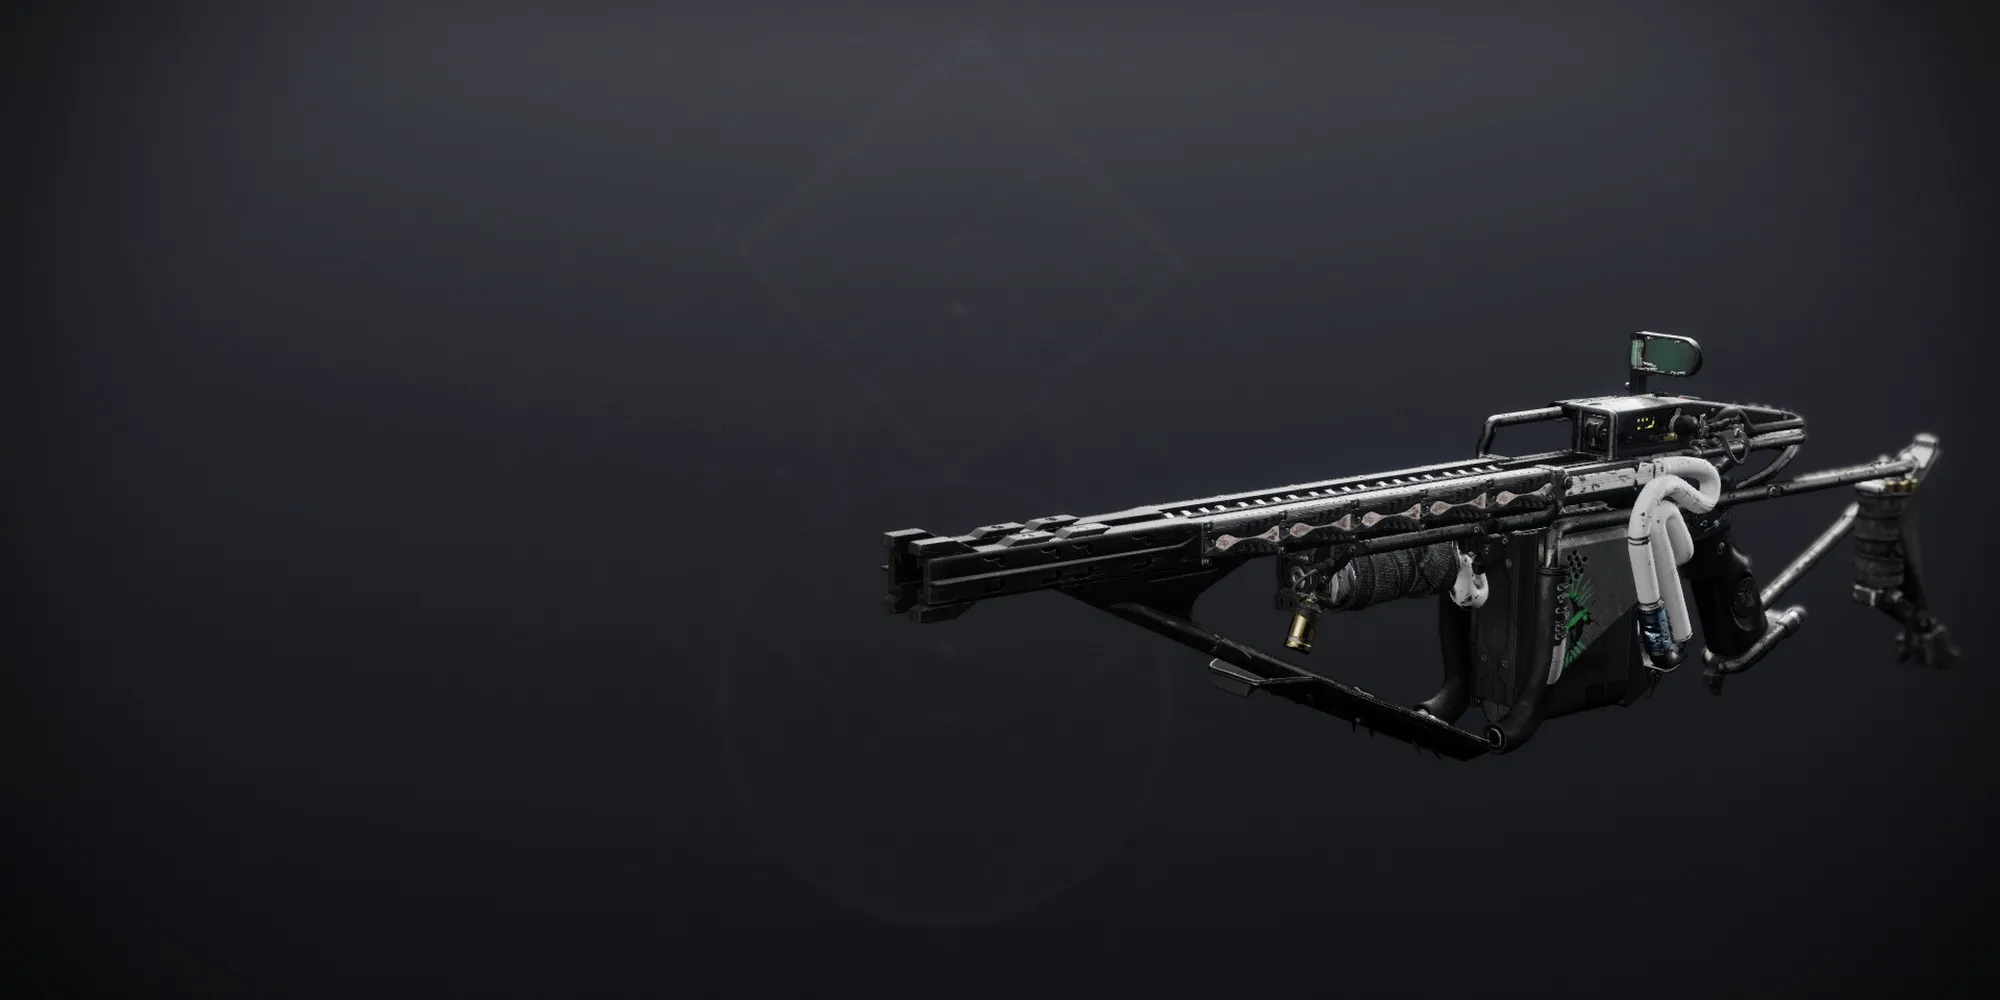
A recommended loadout orbits around the two Champion types. Arbalest acts as a surgeon’s scalpel for Barrier shields, one-tapping any immune dome from any range. For Unstoppable foes, a weapon with innate stagger — such as Bastion or a scout rifle benefiting from seasonal anti-Champion mods — grants breathing room. Heavy weapons lean toward DPS: a good rocket launcher with tracking or a linear fusion rifle deletes stunned Champions before they can recover. Subclass choices thrive on crowd control and sustain; a Well of Radiance Warlock or a Banner of War Titan can turn the enclosed spaces into fortresses of healing, while a Threaded Specter Hunter weaves survival through misdirection.
Suggested Champion Tools
| Champion Type | Weapon/Skill | Notes |
|---|---|---|
| Barrier Colossus | Arbalest, Wish-Ender, Anti-Barrier Auto Rifle | One-shot shield break is ideal |
| Unstoppable Incendior | Bastion, Leviathan’s Breath, Unstoppable Scout | Stagger opens a generous DPS window |
The Cave: A Lone Incendior
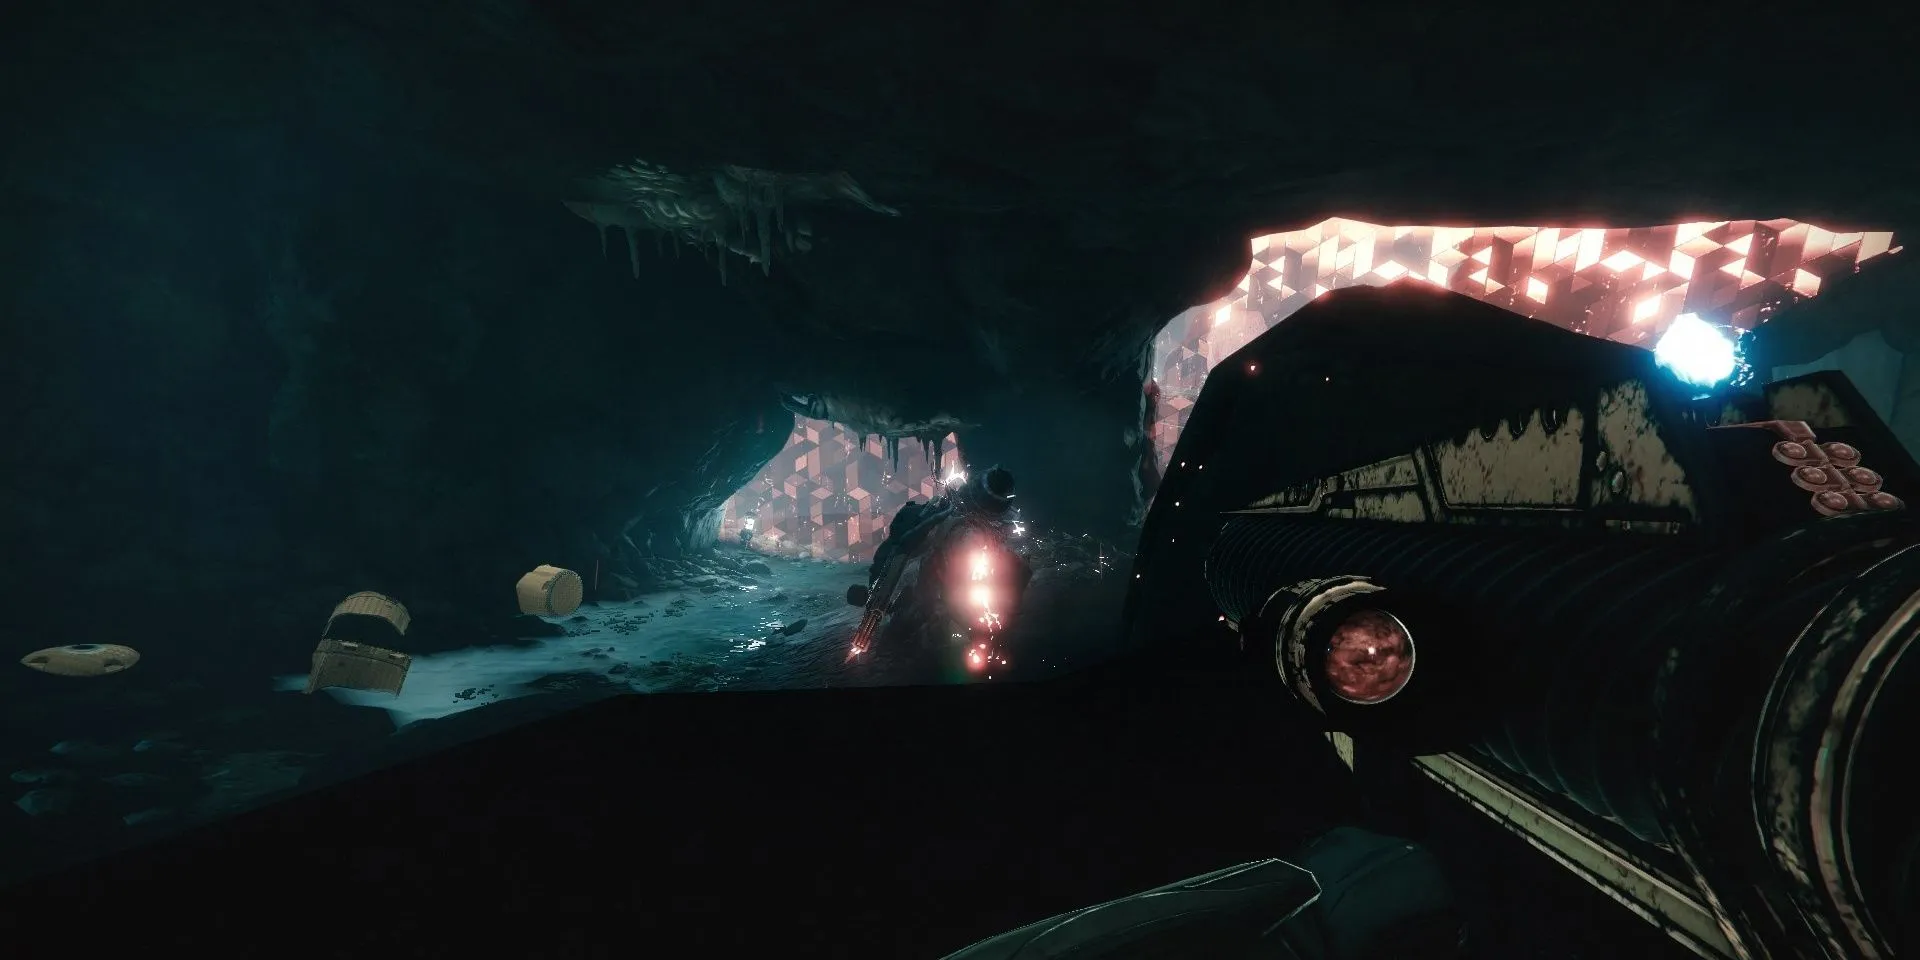
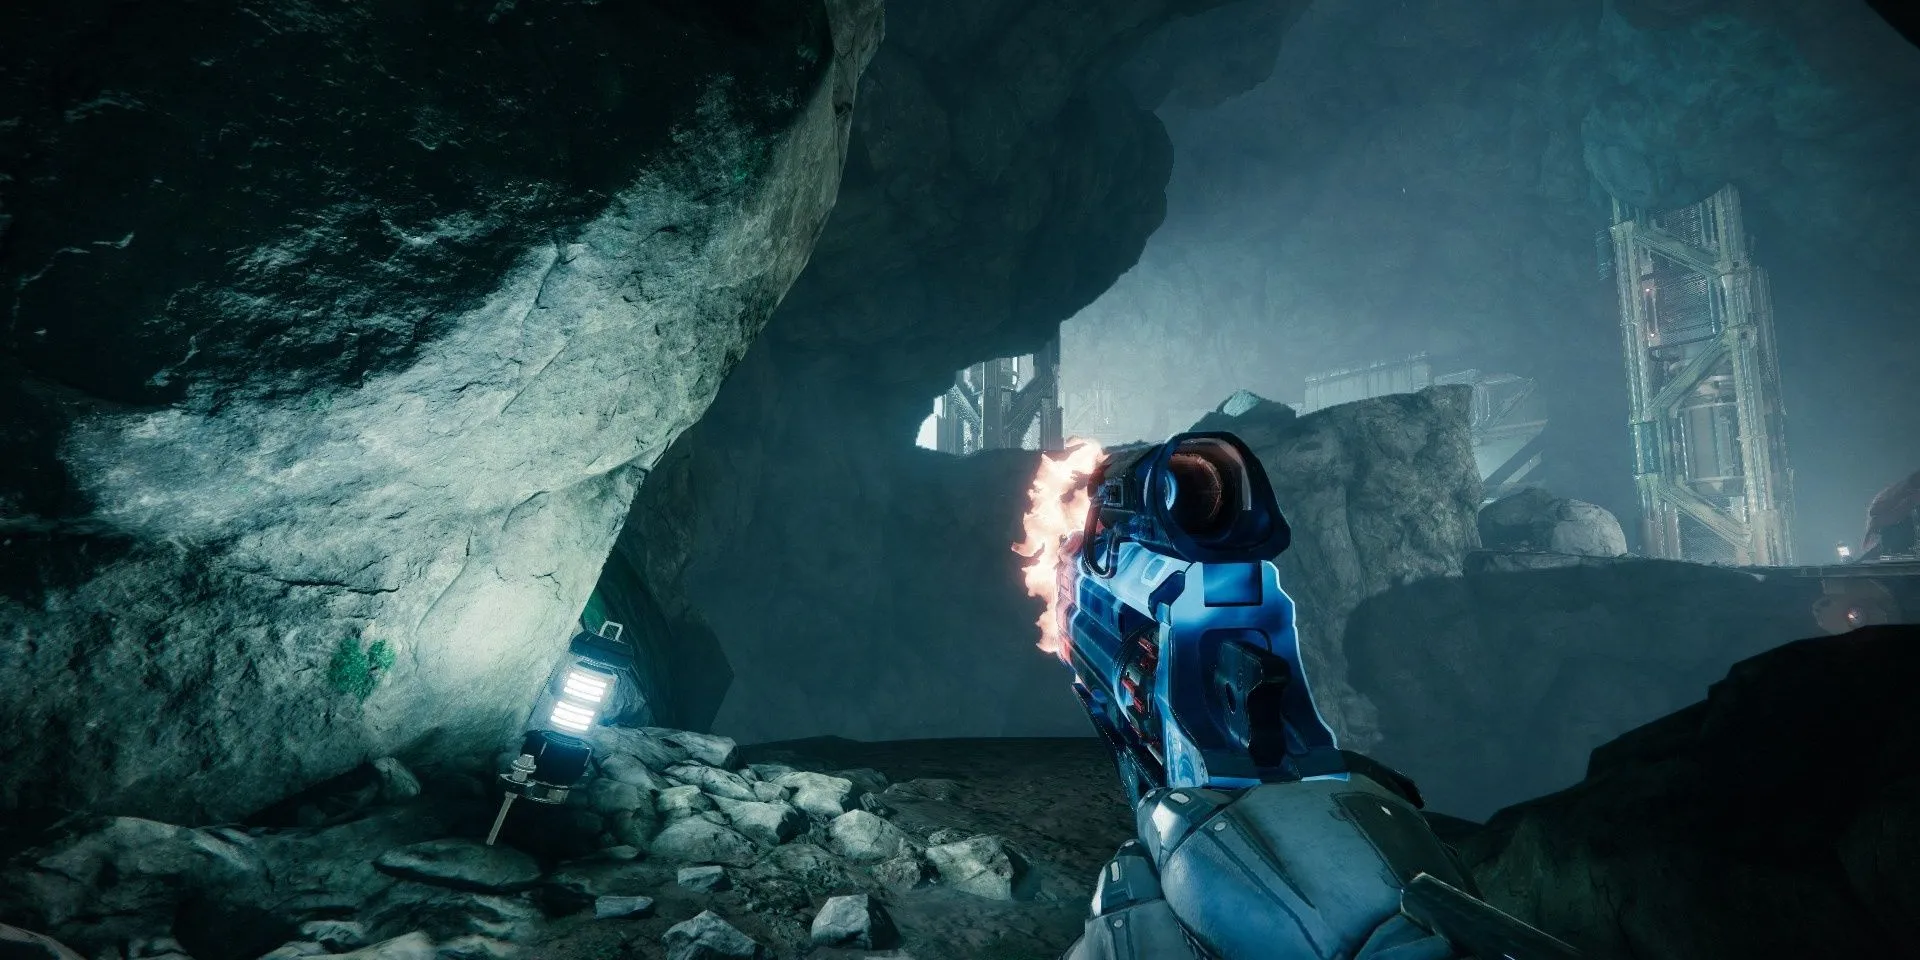
The first chamber is a narrow cave that serves as a controlled warm-up. One Unstoppable Incendior waits at the far end, flanked by a handful of Legionaries. The cramped geometry here is a double-edged sword: it funnels the Champion straight toward the player, making it easy to bait, but it also leaves little room to dodge its flamethrower. The wise approach treats this first Champion like angling for a stubborn fish — fire a few shots to draw its attention, retreat close to the entrance, and wait for its glowing antlers to signal the vulnerable state. Stun it, wipe the nearby Legionaries with an Ignite or a volley of grenades, then pour Heavy ammo into the Incendior. Leaving even one Legionary alive sets the stage for the next section’s delicate balancing act.
The Bridge: A Tinderbox of Champions
Emerging from the cave reveals a Cabal bridge dotted with Legionaries, Phalanxes, Psions, and three Champions — two Barrier Colossi and another Unstoppable Incendior — all mingling like a synchronized military drill. The sheer density of enemies is a trap. Slaughtering too many red-bar soldiers triggers the final arena prematurely, unleashing the boss and three additional Unstoppable Champions. The result is six Champions swarming the bridge simultaneously, a scenario that unfolds like a nest of vipers disturbed all at once.
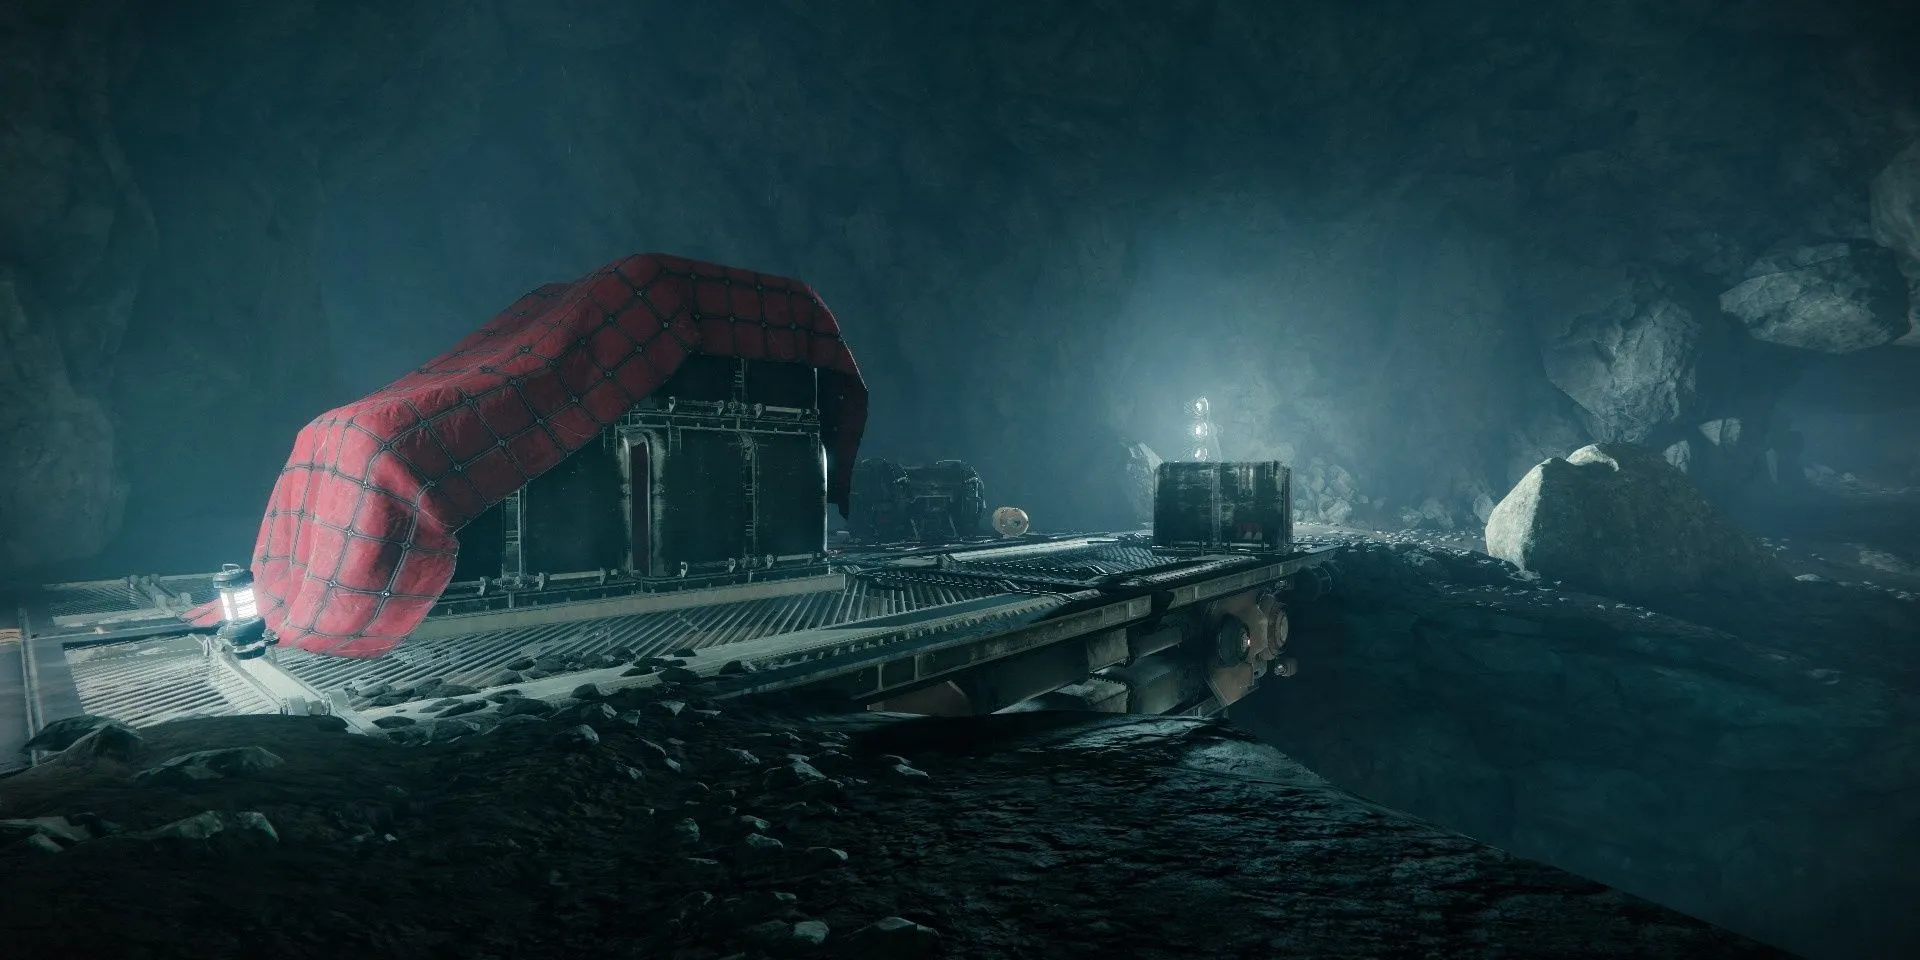
To avoid this, Guardians must exercise surgical restraint. Only the Champions should draw fire. A safe vantage point exists for those who leap from the left cave exit across the chasm onto a cliffside ledge preceding the Cabal dome. From this sniper’s perch, the bridge and boss arena both become shooting galleries.
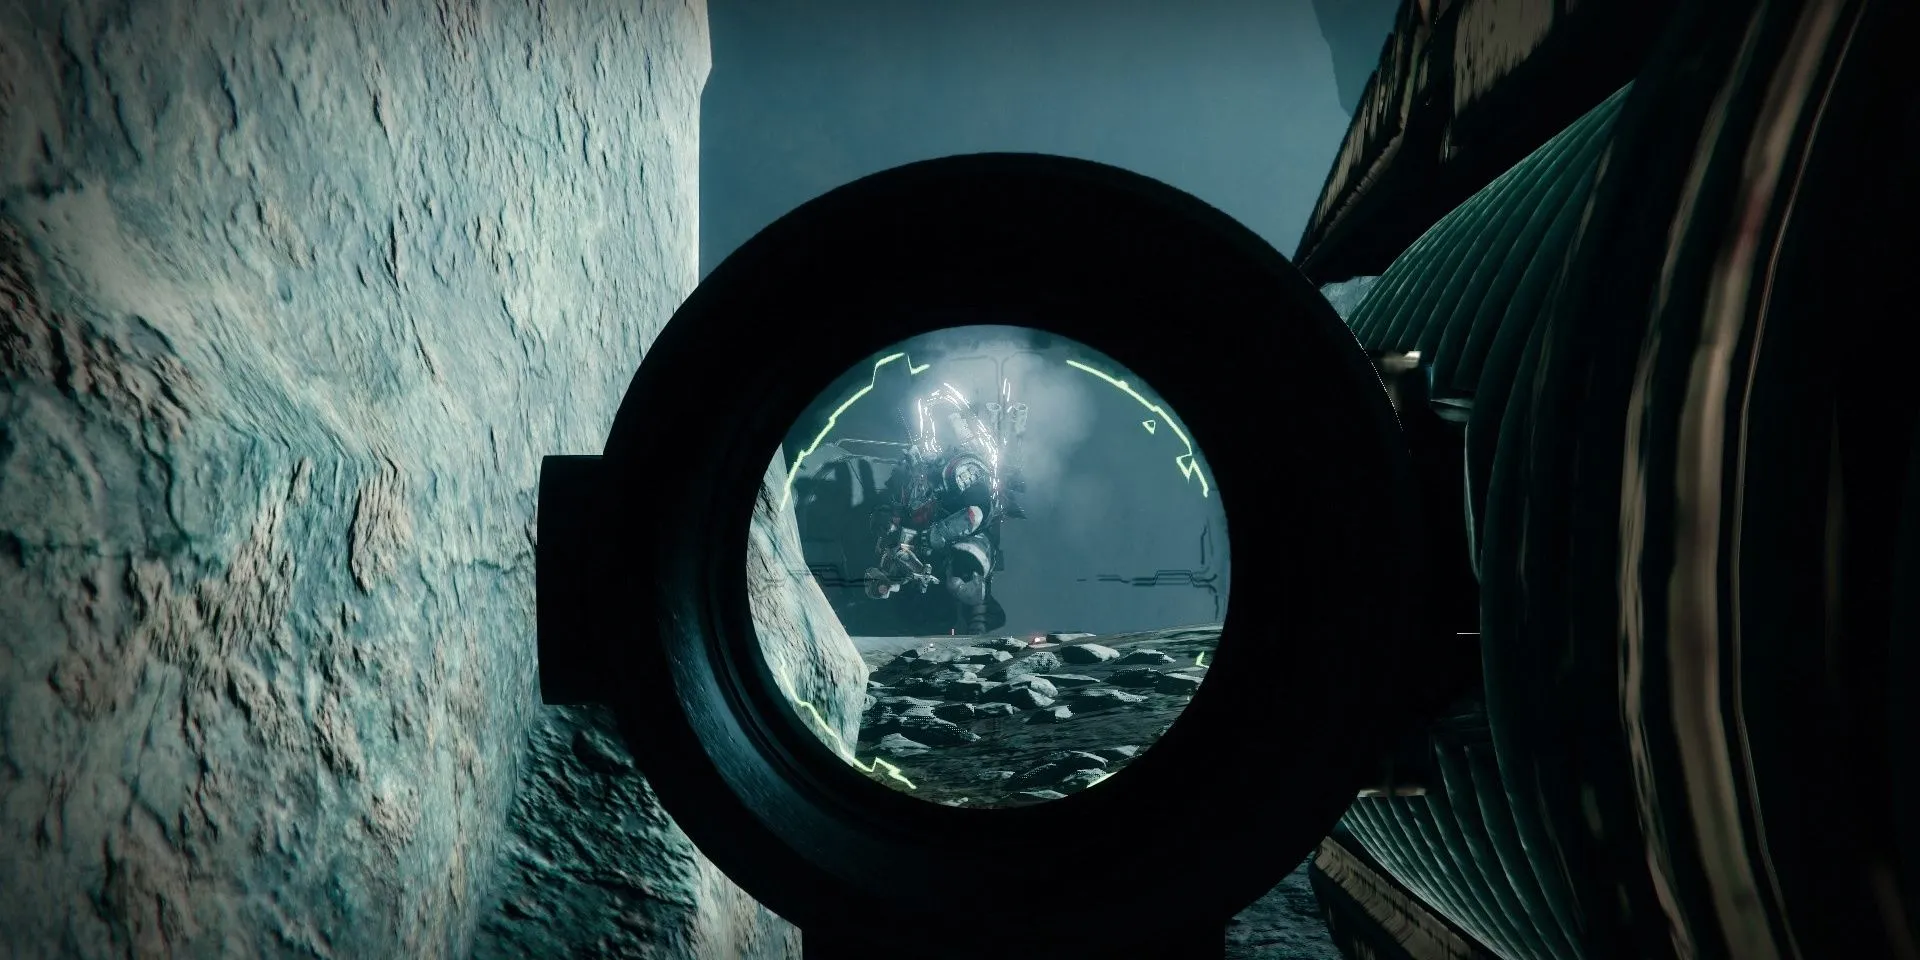
The Unstoppable Incendior at the back of the bridge typically patrols alone and will chase any Guardian that damages it. Kite it back toward the cave or the new ledge, stun, and eliminate it. Then the towering Barrier Colossi, often glued together like monolithic statues, demand a coordinated strike. A single rocket landing between them can force both to deploy their domed shields at once. Break both barriers with Arbalest, focus every ability and Heavy weapon on one Colossus, and repeat for the second. If the champions separate, holding a long sightline forces them to shield again, offering another chance to whittle them down.
The Boss Encounter: Three Unstoppables and a Colossus Commander
Once the bridge is clear of Champions, the remaining Cabal fodder can be safely dispatched. The protective dome at the end of the arena dissipates, revealing the Colossus boss and three Unstoppable Incendiors. These three fiery champions often cluster together, a formidable wall that demands peeling apart like the layers of an onion. Damaging one at a time draws it away from its siblings, allowing the Guardian to lure it back to the bridge or the safety of the cave for an isolated duel. Repeat this kite-and-eliminate routine for all three, and the boss stands alone.
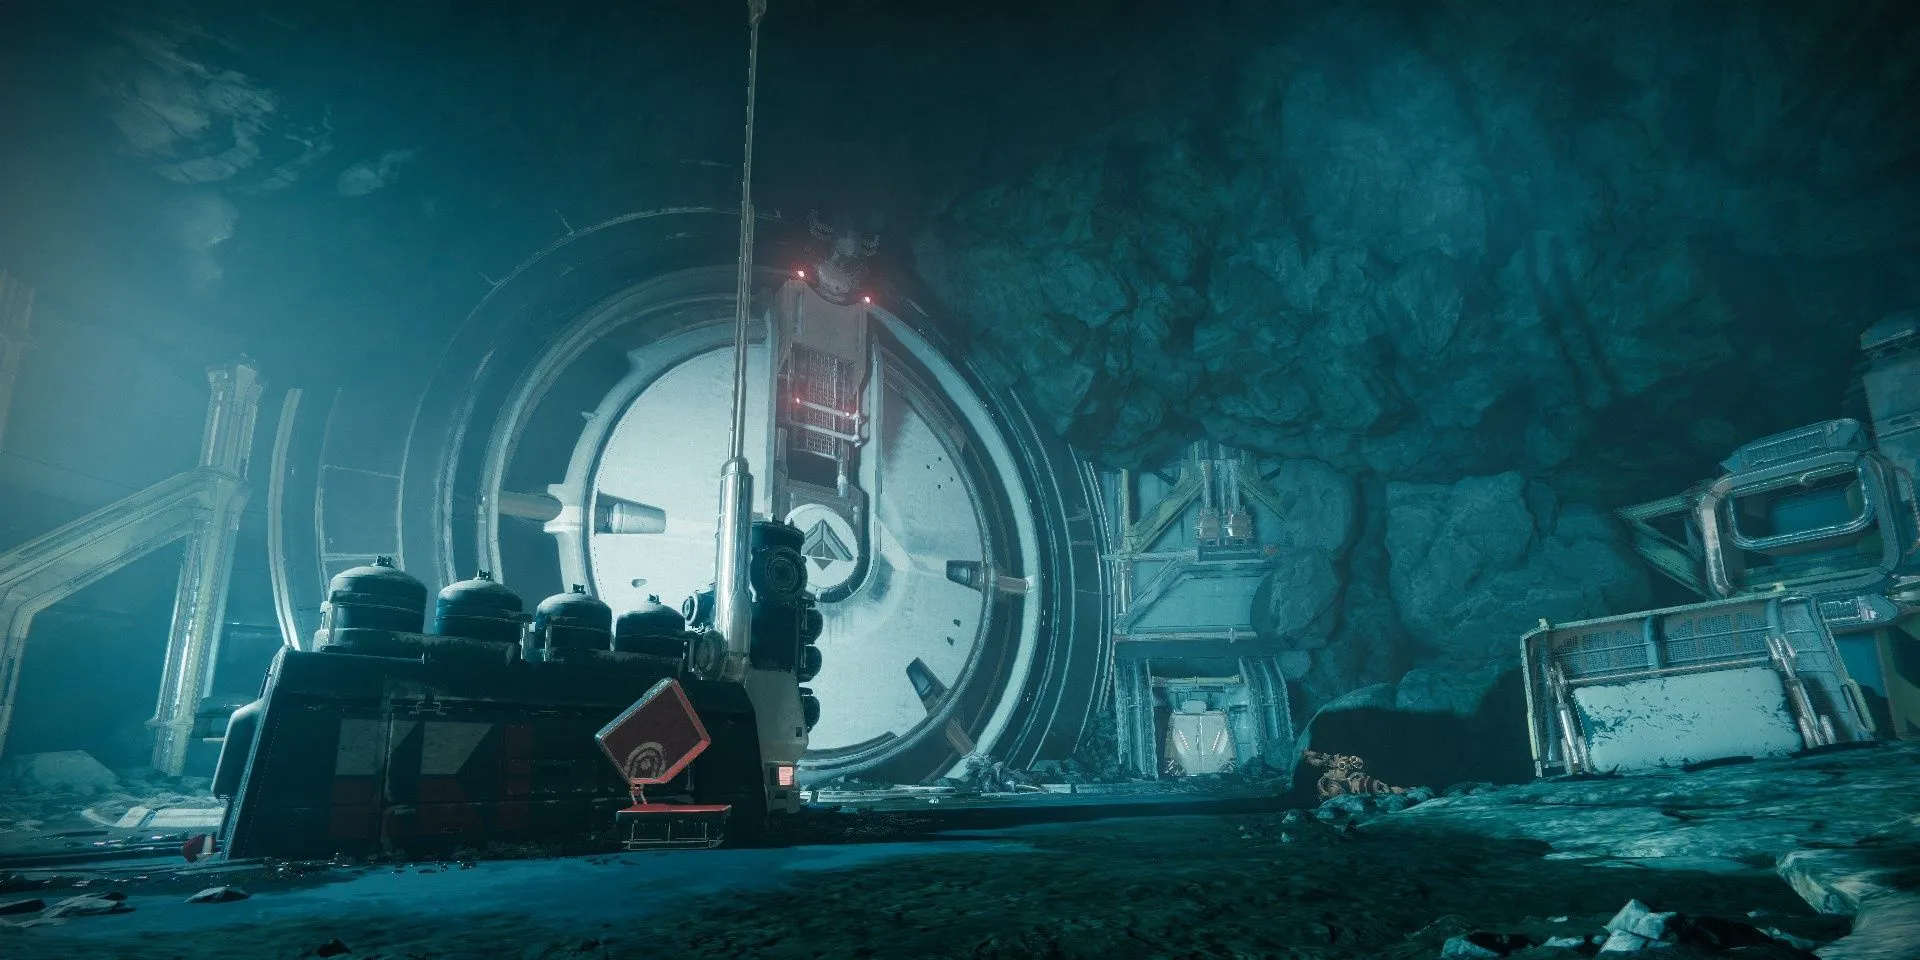
The final Colossus wields a devastating rocket barrage that tracks like a hawk, so fighting from cover is non-negotiable. The boss’s Arc shield must be shattered with sustained energy or elemental damage, after which a Super, a full complement of Heavy ammo, or a high-burst special weapon can melt its health bar. When the Colossus falls, the Lost Sector chest glimmers as the reward for a run well executed. With practice, the entire operation becomes a swift, rhythmic dance — a sub-two-minute farm that hands out Exotic engrams with gratifying regularity. Excavation Site XII may be short, but for those who respect its Champion choreography, it remains one of Destiny 2’s most rewarding compact challenges.