Destiny 2's Prophecy Dungeon: A Complete 2026 Guide to Conquering the Nine
Master the timeless test of Destiny 2's Prophecy dungeon, a raid-like crucible for coveted Moonfang armor and Trials weapons, by conquering its punishing arenas and the final Kell Echo.
In the ever-evolving landscape of Destiny 2, dungeons stand as a unique crucible, offering raid-like complexity in a more intimate, three-player package. Prophecy, a journey into the enigmatic realm of the Nine, remains a timeless test of a Guardian's skill. While its mechanics might feel a tad more approachable in 2026's sandbox, the claustrophobic arenas filled with relentless Taken and punishing physics hazards still demand respect. For those seeking the coveted Moonfang armor and refreshed Trials of the Nine weapons, mastering this dungeon is a rite of passage. This guide will walk you through every encounter, from the initial tunnels to the final showdown with the Kell Echo, providing the knowledge needed to claim your rewards.
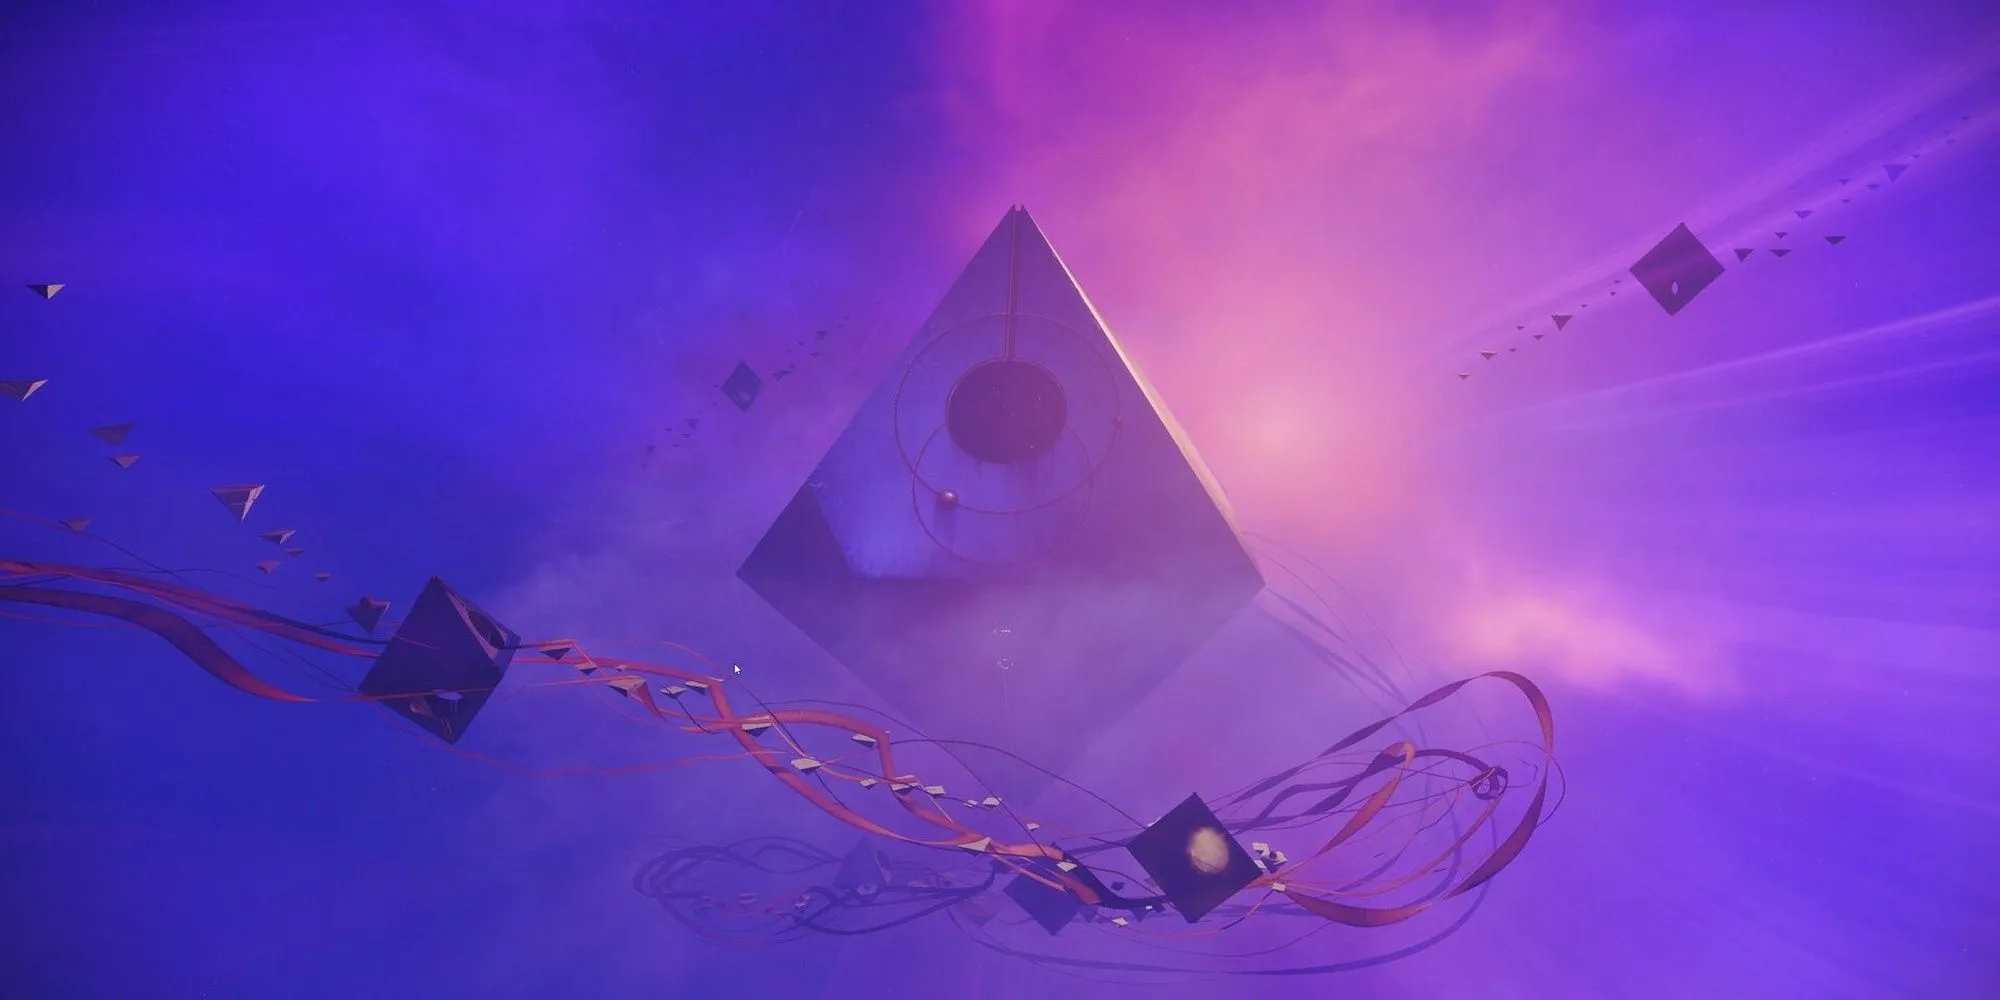
Tunnel Section: A Dance of Light and Dark
The adventure begins in a long, winding tunnel after departing the Drifter's ship. This area introduces the core mechanic of the dungeon: Light and Dark Motes. Two energy pillars block your path, and to proceed, you must collect motes from slain Taken Knights to cleanse them. Here's the kicker: the type of mote a Knight drops depends on the lighting around you. Stand in the light for Light Motes; lurk in the shadows for Dark Motes. Your screen will give you a hint with animated tendrils—white for light, dark for, well, dark.
-
Collecting Motes: Grab five of the same type, and you'll drop your weapons to carry a charged mote. Run to the matching pillar and use your fire button to purge it. But watch out! Picking up a different mote type resets your stack, and using your class ability or Super will make your hard-earned motes vanish into thin air. Talk about a mood killer.
-
The Skip: Seasoned runners know a shortcut. Right at the start, jump onto the first golden sphere, turn left, and climb the tube to the surface. In 2026, the easiest ways are using a Strand Grapple or Stasis crystals. No fancy expansions? It's a bit of a hustle, requiring mobility Exotics, Swords, and some serious parkour skills. Hunters can rely on St0mp-EE5 and Triple Jump, Warlocks on Heat Rises and Icarus Dash, and Titans can simply Lion Rampart their way up.
Phalanx Echo: Survival in a Tiny Box
Your first boss awaits on a central golden platform, and boy, does he play dirty. The Phalanx Echo arena is notoriously small with little cover, and the boss loves to blast you with his shield, sending Guardians flying into the void—Destiny's physics engine at its most chaotic.
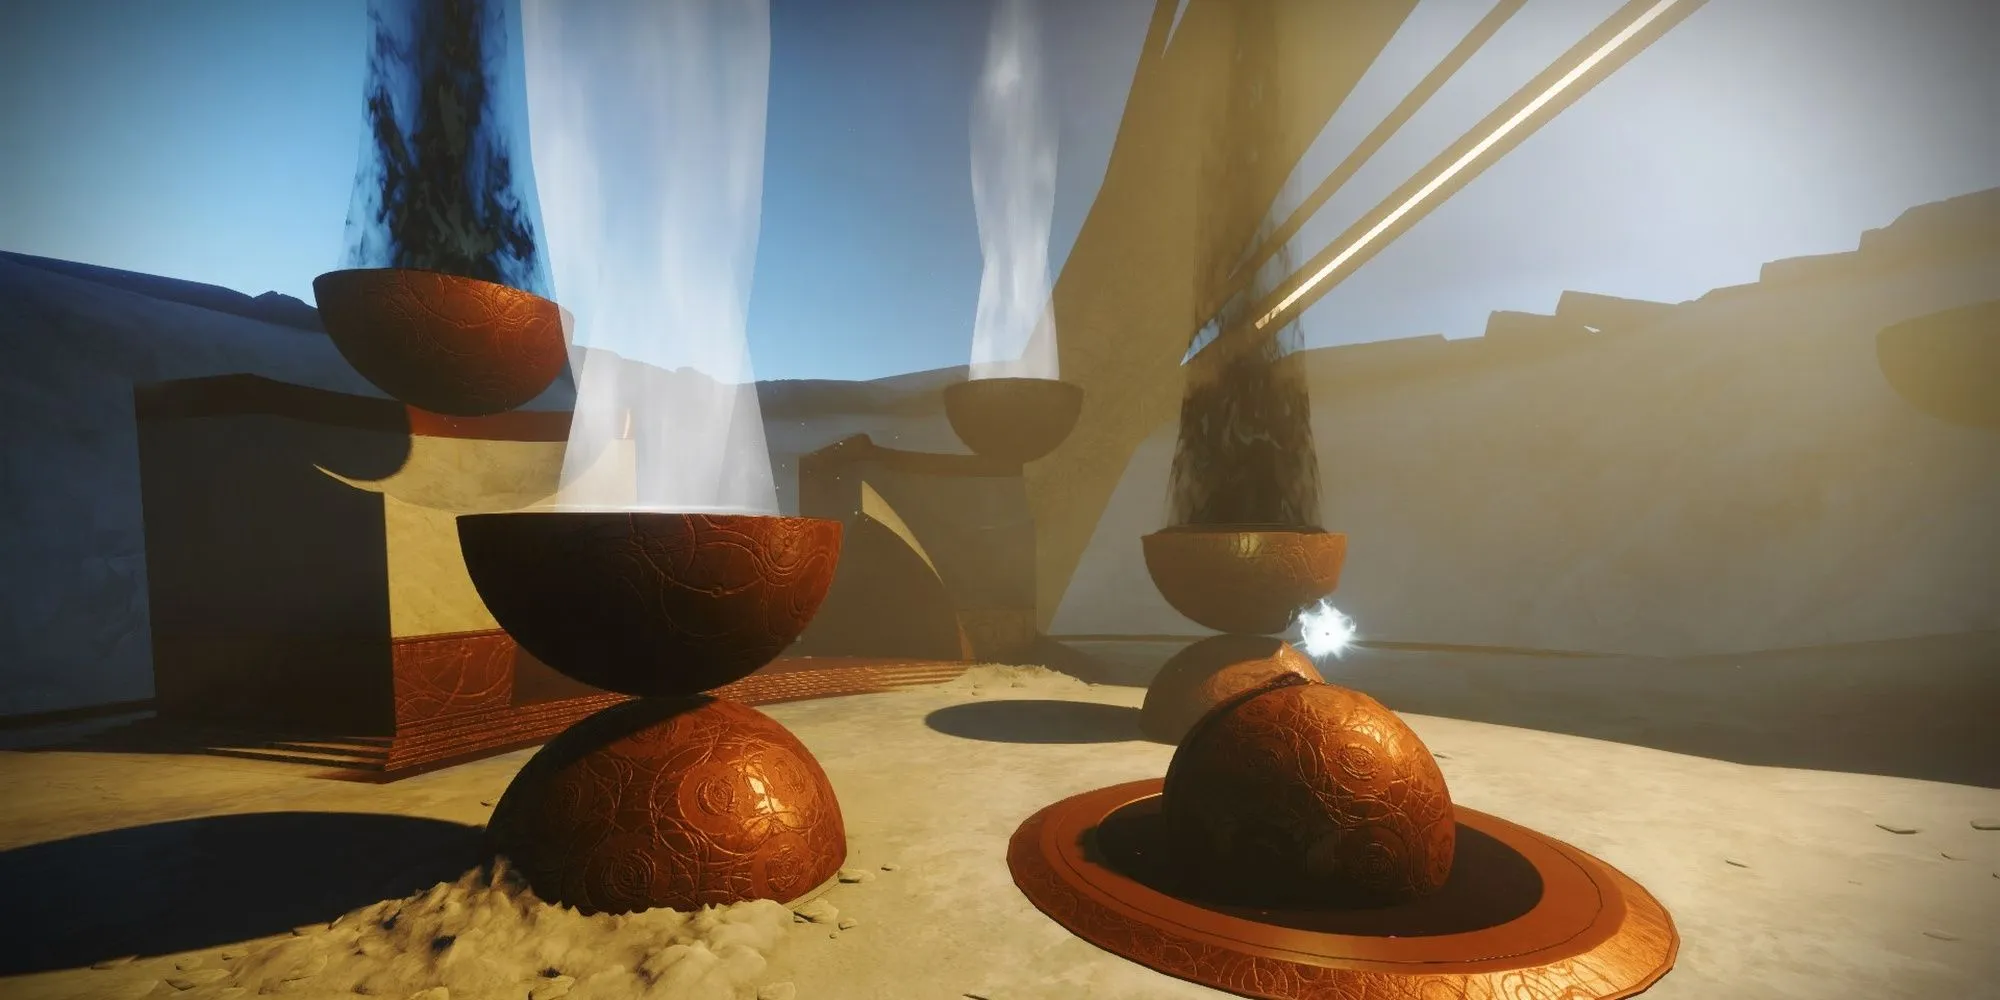
The goal is familiar: cleanse the four floating light pillars to strip the boss's immunity shield. Each cleanse changes the arena's lighting and spawns a pair of Knights and waves of Taken Psions. Clear the Psions first—they don't respawn until the next cleanse. Once all pillars are purged, you get a damage phase. But hold on! Taken Goblins will spawn to protect the boss. Take them out quickly. The Phalanx Echo doesn't have a massive health pool, so a coordinated team can often finish him in one phase. If not, you'll have to cleanse four more pillars and try again.
Wasteland & Hexahedron: Puzzles and Endurance
After the boss, hop on your Sparrow and explore the vast, sandy Wasteland. Your mission is to find and destroy three Taken Blights. Watch out for patrolling Taken Minotaurs—they'll shred your Sparrow in seconds. After each blight, locate the floating Toland orb. Do this three times to reveal the exit in the giant cube structure.
- 💎 Hidden Chest #1: On your way to the cube, turn around and head slightly right from spawn. Look for a structure with yellow sand in front of it. Run up the slope, and the chest is inside. A little treasure for your troubles!
The next challenge is the Hexahedron, a true test of endurance. You're trapped in a rotating cube with enemies coming from all sides. The rule is simple but strict: cleanse the pillar that has a Toland orb floating above it on the wall. This rotates the room.
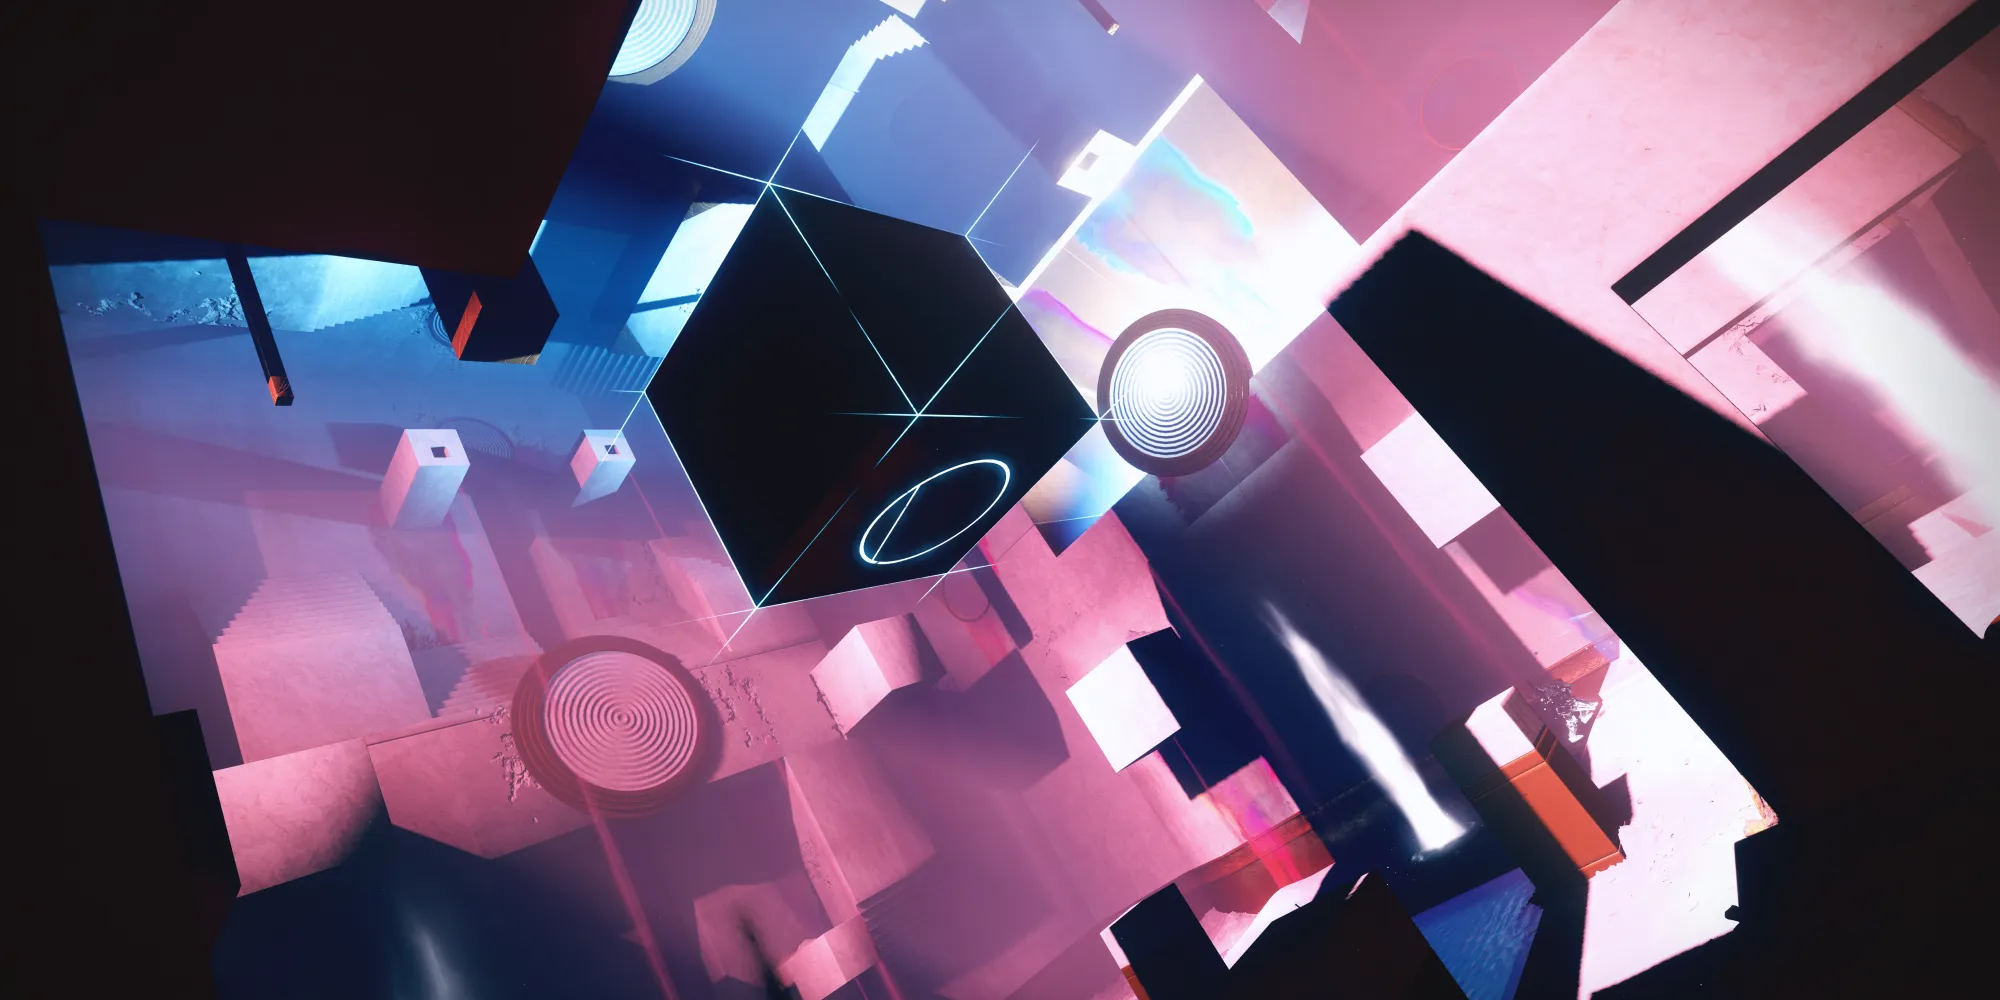
Survival tips? Kill the Taken Hobgoblins first. They snipe from above. Then, mop up the Acolytes before they spawn annoying Eye turrets. Area-of-effect weapons are your best friend here. Repeat the cleanse-and-rotate process several times, and eventually, you'll face two Centurion bosses. They're pushovers—almost any Special weapon will make quick work of them.
Rainbow Road: A Scenic, Dangerous Path
A moment of relative calm. Rainbow Road is a linear, beautiful, but hazardous platforming section. Just follow the path of light to the giant diamond at the end. Taken Vandals and Knights will take potshots at you, but a fast Sparrow can breeze past them. For those going for a flawless run, though, slow and steady wins the race. When the road seems to end, look for floating platforms to jump to.
- 💎 Hidden Chest #2: In the final diamond structure (to the left of the gravity lift), hop off your Sparrow. In the bottom right corner, you'll find a hole. Drop down and follow the path to the hidden chest.
Kell Echo: The Final Test
The grand finale. The arena floods with Taken Psions and Knights, while three Kell Echo clones fire at you from the corners. Finding cover is a nightmare. Bringing a defensive subclass with invisibility, healing, or strong add-clear is highly recommended.
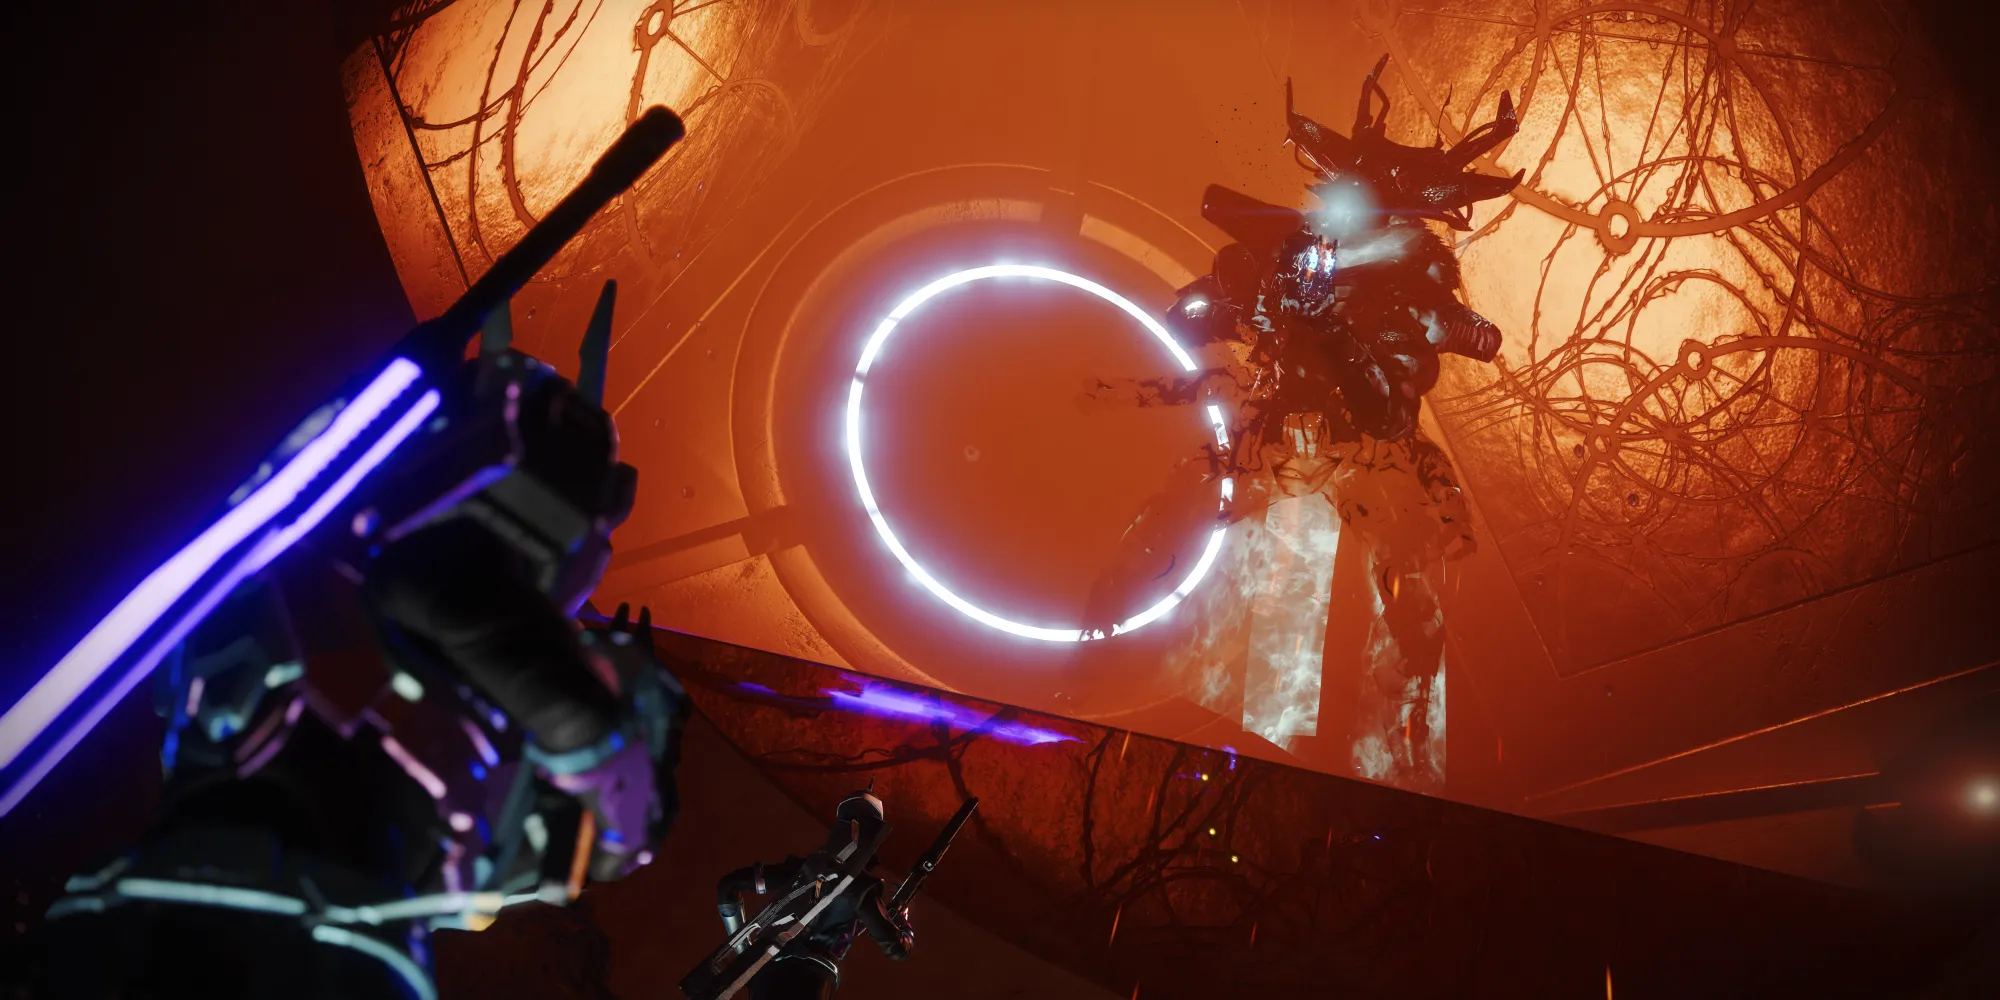
Mechanics time:
-
Pillar Cleansing: You need to cleanse three corners using motes, just like before. Cleansing a corner despawns that clone but spawns a deadly Taken Ogre a few seconds later. Kill it fast!
-
The DPS Phase: After cleansing three plates, jump into the central teleporter. You'll chase the Kell Echo down a long hallway.
-
Dark Entropy: If you're too far from the boss, you'll gain stacks of Dark Entropy. At 10 stacks, it's an instant death. Stay inside the ring it projects.
-
The Portal: The boss shoots a portal. If it hits you, you're blinded and teleported back to the start. Avoid this at all costs.
-
The Dance: Kell Echo teleports every ~15 seconds, moving five times before stopping. Each teleport spawns two Hobgoblins—kill them first!
-
This entire chase is your damage phase. Unleash everything you have. The best windows are right at the start and when the boss reaches the final spot. After about 15 seconds at the end, the phase concludes. Repeat the pillar cleansing and DPS cycle until the Kell Echo is finally silenced.
Loot Tables: The Spoils of Victory
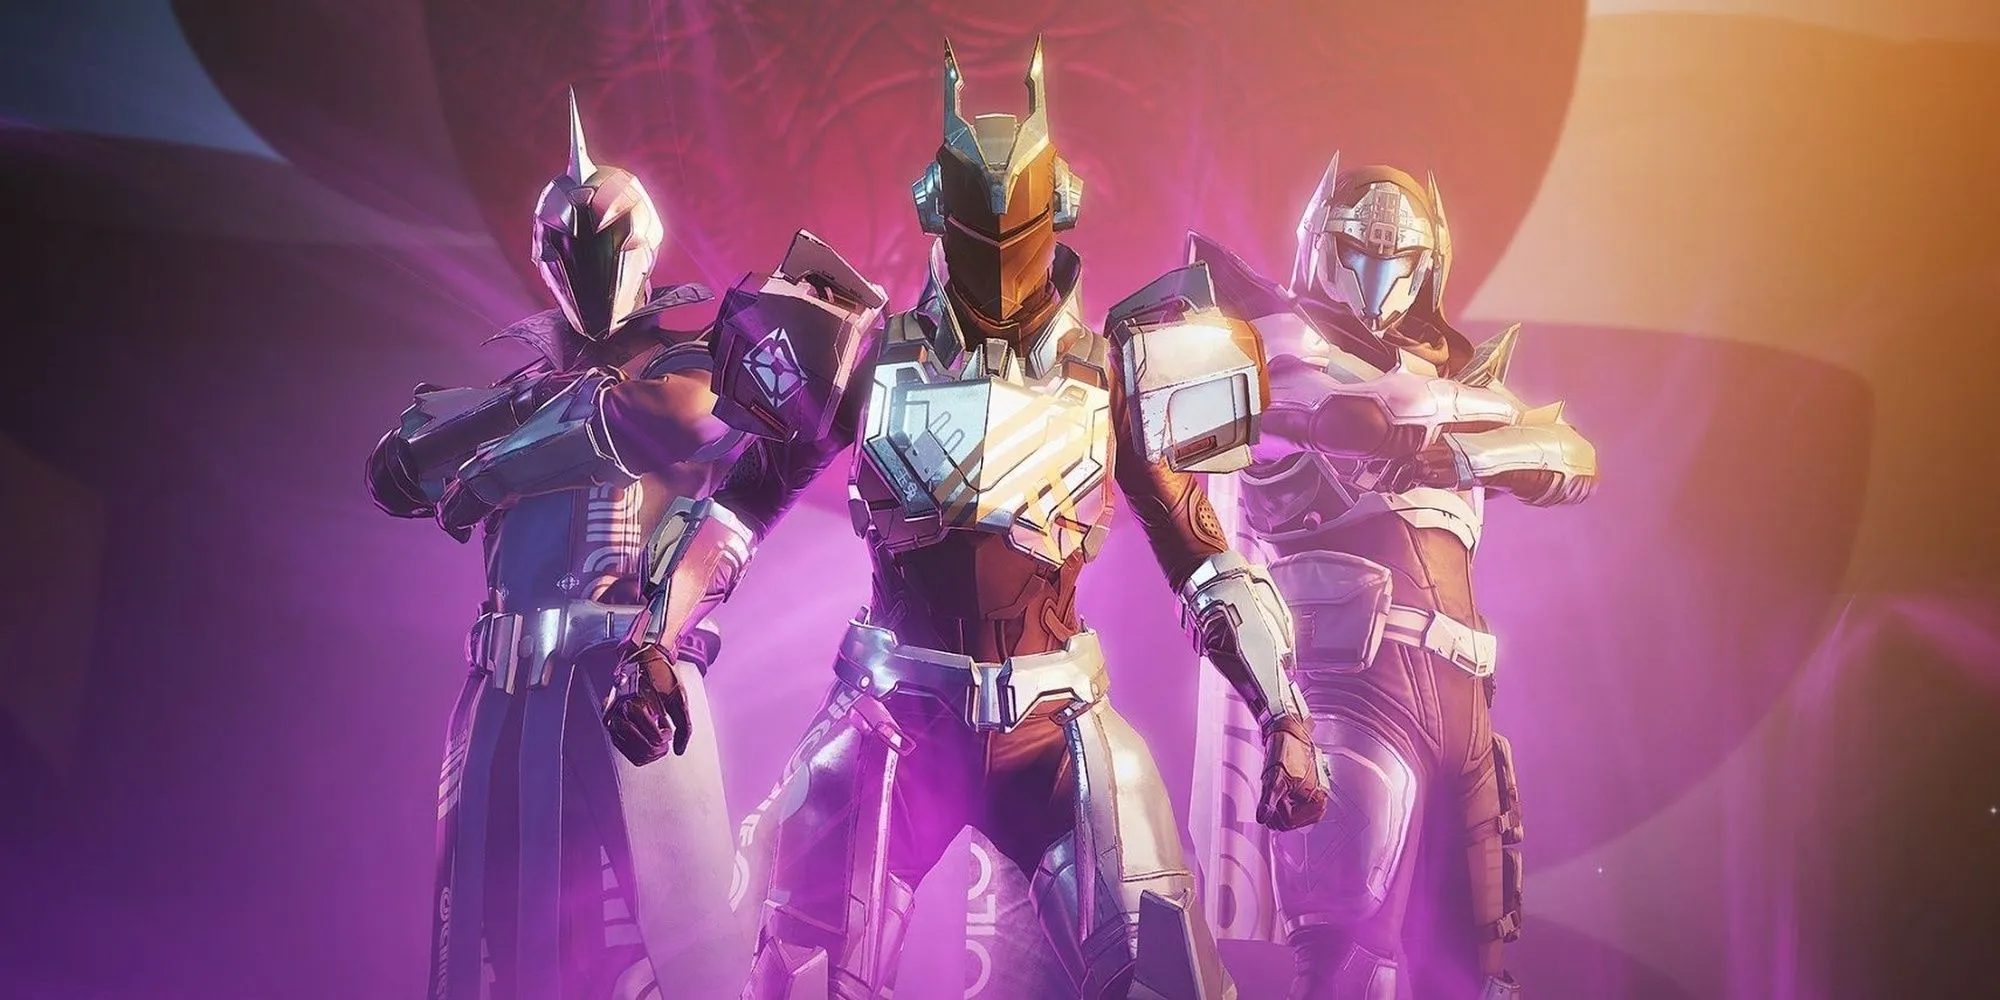
Conquering Prophecy in 2026 rewards you with the sleek Moonfang armor set and a refreshed arsenal of weapons originally from Trials of the Nine. Each major encounter has its own loot pool.
| Encounter | Possible Drops |
|---|---|
| Phalanx Echo | Weapons: The Long Walk (Sniper Rifle), Judgment (Hand Cannon) Armor: Moonfang Gauntlets, Leg Armor |
| Hexahedron | Weapons: Sol Pariah 6 (Sidearm), Darkest Before (Pulse Rifle) Armor: Moonfang Chest Armor, Class Item |
| Kell Echo | Weapons: A Sudden Death (Shotgun), The Last Breath (Auto Rifle) Armor: Moonfang Helmet |
| Emissary Chest (Final) | Any weapon or armor piece that has already dropped for you in the dungeon. |
And that's it, Guardian. Prophecy is a dungeon that blends beautiful, surreal landscapes with intense, mechanical combat. It's a challenge that has stood the test of time, and its rewards are as sweet as ever. Grab your fireteam, or brave it solo for the ultimate test, and claim your place among those who have unraveled the mysteries of the Nine. Good luck out there.